Once your application is featured on the App Store and Google Play, you’ll be able to send push notifications. Or your clients will, if you’re a reseller.
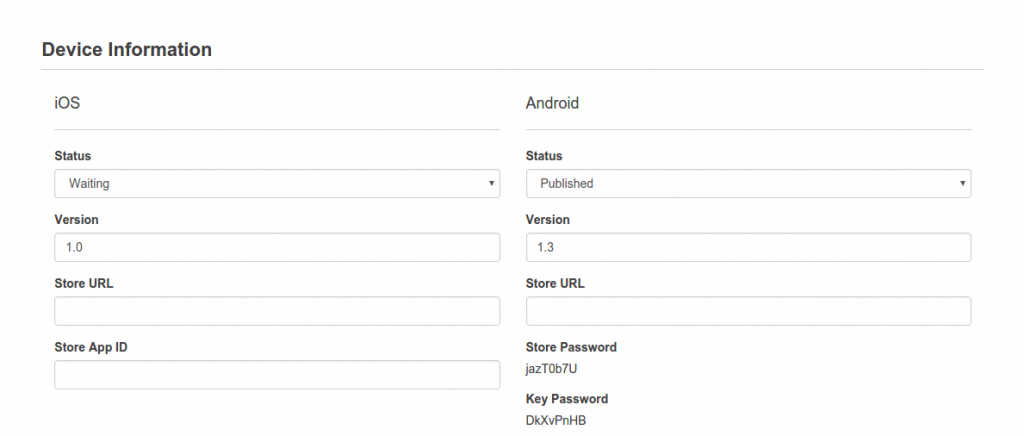
First of all, to be able to send notifications, your app must be set as “published”, in its details page (backoffice > manage > applications > pick your app):

Then, from the app editor, it is quite simple. You have to click on the Push feature. This will appear:

Then, you have to click on the  , to create a new Push message. This will appear:

- “Open a feature or a custom url” allows you to redirect your users to a specific url or a specific page of your app when they open the push notification.
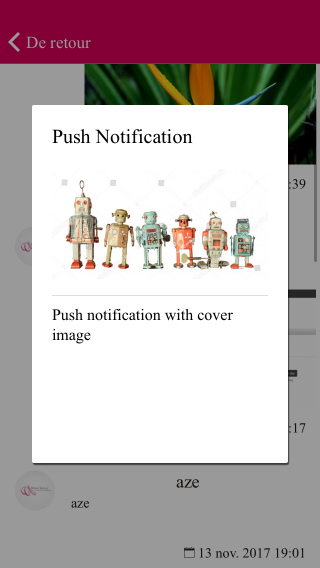
- “Insert a cover image” will insert a cover image

Now, choose your message and click on  Once you have clicked, this will appear:

- “Target specific devices”: You can choose to send to iOS & Android devices, Android only or iOS only.
- “Send to all my users”: Will send to all of your users, including unregistered ones.
- “Send to specific users”: Will send to specific users, with the module “Individual Push Notifications” bought and installed. A list of your users will appear. You will be able to check the users you want to send this push notification to.
- “Send to specific topics”: How to create topics and send topic based push notifications:
Then, click on  :
:

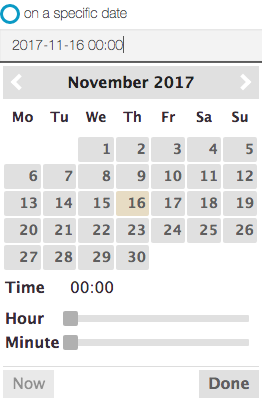
You can send your notification now, or on a specific date:

You are done ! Click on  to send the push notification.
Send Push Notification from the Dashboard of the Editor
You can now send Push Notifications directly from the Dashboard of the Editor. This will allow you to send a notification to multiple apps on your account.
Note: The push feature must be added in your app
First, click on the Push Notification button  on the top of the screen.
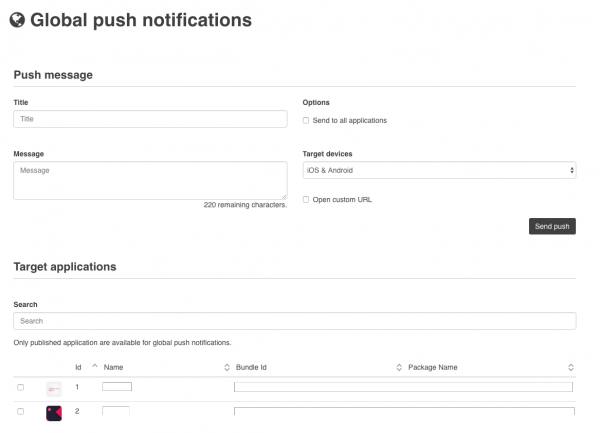
This page will appear :

- “Title”: Enter the title of your push notification.
- “Message”: The message of the notification.
- “Send to all applications”: This checkbox will send this notification to all of your apps.
- “Target devices”: You can chose to send to iOS & Android devices, Android only or iOS only.
- “Open custom URL”: allows you to redirect your users to a specific url when they open the push notification.
- “URL”: Enter here the custom URL if the previous checkbox is checked.
- “Select target applications”: If the checkbox “Send to all applications” is not checked, you can chose the apps you want your push notification to be sent on.
Once everything is setup, you are done ! You can click on 
Send Push Notification from the Backoffice
Note: The push feature must be added in your app
This will allow you to send a push notification to multiple apps of your Siberian.
When you’re on the Backoffice, go to Settings -> Push -> Global push:

- “Title”: Enter the title of your push notification.
- “Message”: The message of the notification.
- “Send to all applications”: This checkbox will send this notification to all of your apps.
- “Target devices”: You can chose to send to iOS & Android devices, Android only or iOS only.
- “Open custom URL”: allows you to redirect your users to a specific url when they open the push notification.
- “Target applications”: If the checkbox “Send to all applications” is not checked, you can chose the apps you want your push notification to be sent on.
Once everything is setup, you are done ! You can click on 
![]() , to create a new Push message. This will appear:
, to create a new Push message. This will appear:![]() Once you have clicked, this will appear:
Once you have clicked, this will appear:![]() to send the push notification.
to send the push notification. on the top of the screen.
![]()
![]()